Tuesday, October 30, 2012

One Man's Trash, Another Man's Treasure

All weekend I've been dreaming about giving this guy new life...


I found this little night stand on craigslist for only $15 for my friend Melissa's bedroom that I'm working on. It needs a coat of paint and a new drawer pull, but I think it has a ton of potential and you can't beat the price.

Reasons I like it:
  1. I think it has kind of interesting details with the curved sides and panels on the drawer. I could see it painted black, then distressed to show of the shape and give it a little vintage look. (With spray paint this would be a piece of cake!)
  2. Lot's of room for Melissa's books and accessories.
  3. Melissa can customize it with whatever cute fancy drawer pull her heart desires.
  4. The top is similar to a desk she currently has. I plan on a little rearranging, so with the desk on one side of the bed and this nightstand on the other, the room with be balanced and the desk will be functional even though Melissa doesn't really use it as a work space.
  5. What a bargain! :)
distressed black nightstand with glam hardware

So many possibilities. Looking forward to the transformation! Also... Melissa's Enchanted Bedroom mood board coming soon.


Monday, October 29, 2012

DIY - 30 Minute Fairies

With next to no time before the Halloween party that Frank and I were invited to, I whipped up these fairy wings for Frank so that we could be a fairy couple. Wire coat hangers, stockings, spray paint, and only 30 minutes and you too can have yourself a fairy costume!


I had these old black wings, but Frank thought they were too girly, so I used part of them to create the "bottom wings," but you could make this part out of coat hangers also.


Spray paint to your liking and don't forget the fairy dust (ie. glitter)!


And now Frank has wings to match mine!


Tuesday, October 23, 2012

Going back in time... An Old Dresser Redo

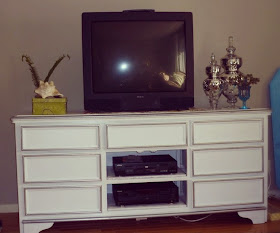
In a few of my previous posts, there are some photo's of my entertainment console...


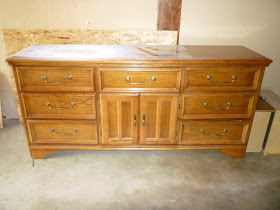
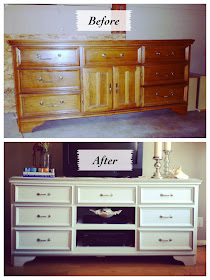
Well... that thing started out as this:

dresser before redo repaint refinish diy
(Is it just me or does the dust bother you too?)

After searching and searching for a TV console that would fit the space, I realized I was going to have to buy an old piece of furniture and perform a little magic on it to get what I was looking for.  I couldn't find anything  in my measly price range that wide enough to fill the expanse of wall the way I wanted.  So the DIY project began with a hunt for the right piece of furniture.  I was excited when I found this little guy for $70 at Goodwill because not only was it wide enough, it also had the perfect spot for the dvd player inside the two doors. Believe it or not, I actually don't have cable!  So no there's no cable box now, but there's room for one in the future if I ever get up to speed and join the masses in front of the boob tube.  Anyway... I took it home and went to work!

refinish supplies

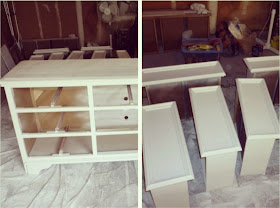
With drop cloth down, hardware removed, drawers out, and doors taken off it was almost ready to be sanded. I had to remove the drawer guides in the two bottom middle slots with a screw driver and hammer (there were previously drawers that pulled out from inside the doors).  I also filled in all of the holes from the hardware since the old pulls were much wider than the hardware I was going to replace them with.

After that, I borrowed an orbital sander from a carpenter friend and sanded the crap out of it! Carpenter friend also had some nifty little rubber tools similar to these for sanding around the trim, which helped tremendously.  (I don't have any photos of this part... my apologies.)  All of that took up the better part of my Saturday, so it was time for a break.

Sunday morning... back to work!  I primed the whole thing with a few coats of RustOleum Primer. Once that was dry, I layered on a few coats of Semi-Gloss White, sanding lightly between coats.  I made sure to paint the inside of the bottom two slots since this would be left open for the dvd player and other tv gadgets.  Thanks to the many example's on the internet, I made sure to buy a spray paint handle to do all of this. I'm pretty sure I would have lost a finger had I not.

primed dresser entertainment console repaint refinish redo

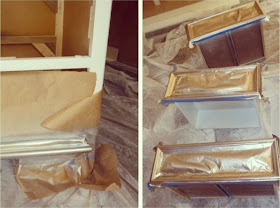
Next I taped off the trim with blue painters tape and paper and spray painted it Metallic Finish Silver to give this ho-hum piece of furniture a bit of sparkle and class.

silver trim

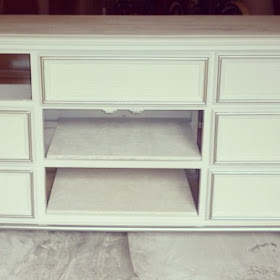
For the media shelves I bought the cheapest wood I could find, had it cut to size at Home Depot, and spray painted it white. For a while I left the shelves sitting in their place without fastening them down in anyway because I forgot to buy trim to finish of the front edges and wanted to make sure it would fit flush with the front of the piece  As you can see below, the wood had a lot of ugly texture, which I eventually covered up with some white contact paper that I had.

shelves

I finished the whole thing of with some Minwax Wipe On Poly for to give the whole thing a fresh shine and the hard part was done.  

After a weekend of hard work, we (and by we I mean Frank and a friend that is a mover... thanks guys!) brought the new entertainment console upstairs and it sat in the living room without hardware for the next few months. (This is pretty much how most projects go for me as a busy/poor student).

white and silver dresser - no hardware

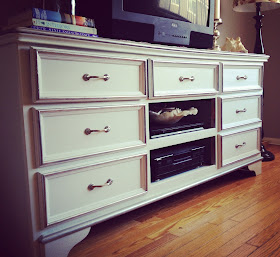
Finally, one day during a school break (having a little extra spending money without tuition and school supplies expenses), I headed to Home Depot and picked up these pretty little pulls and some trim to give the shelves a finished look.

home depot silver pulls hardwaretrim

And there ya have it!

before and after dresser tv entertainment console refinish redo repaint

white and silver tv entertainment console dresser diy


Saturday, October 20, 2012

What to be for Halloween?

It's almost time for a Halloween Party! My boyfriend, Frank, and I have a Halloween party coming up next weekend and I haven't come up with cute couples costumes yet. Last year we actually had no specific plans, but I really really really wanted to make Popeye and Olive Oyl (spiced up a bit... cause hey... its Halloween!) costumes... so I did!  


Here's how I made it... 

Olive Oyl
  • Sewed lace trim (Joann Fabrics) to red Goodwill shirt - trim $4,  shirt $6
  • Loosely stitched yellow ribbon (Joann Fabrics) to a black skirt I had - ribbon $4, skirt  free
  • Bought ruffly socks a previous year for another costume -  free this year but around $5 I think
  • Accessorize with white plastic earnings - $3
  • Don't forget the hair! (I've got the little protruding bun thing goin' on in the back)
Cost = $22

Popeye
  • Put blue T-shirt under black polo shirt (Goodwill) and rolled sleeves for the cuffs - $6 for both
  • Sewed sailor color using red fabric and black ribbon (Joann Fabrics) similar to this although I attached it to the shirt with safety pins so that it could be used later - fabric $3, ribbon $4
  • Blue Dickies pants (T-shirt Store) - $20
  • Frank's boots - free
  • Made belt with yellow material (Joann Fabrics) and a buckle from an old belt we had - $2
  • Cut circles out of yellow felt (Joann Fabrics) for buttons and attached with safety pins - $1
Cost = $36
Total Cost for both = $58

Now that we actually have somewhere to go, I haven't developed a costume plan.  I don't think I have the time to make anything that involved this year. I was thinking maybe replacement referees?  What do you think?


Friday, October 19, 2012

Love wallpaper but can't afford the expense?

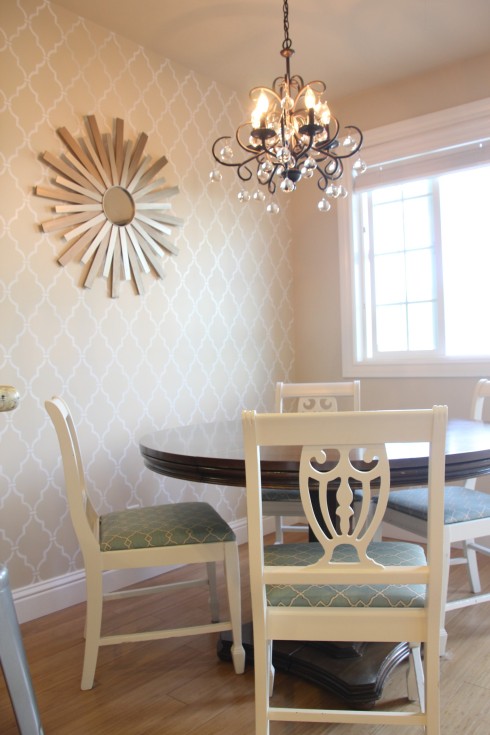
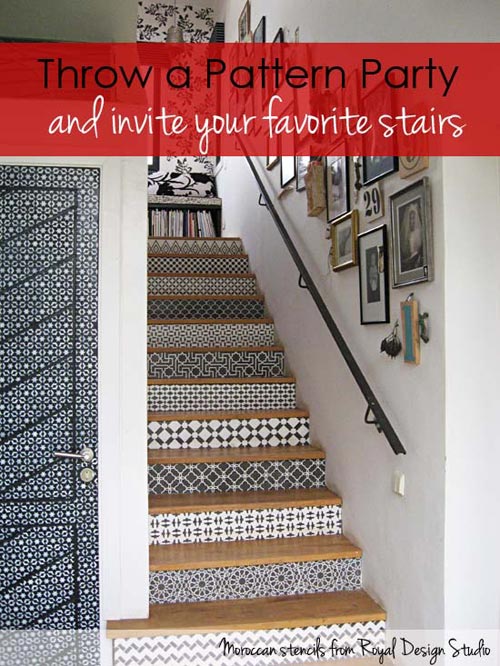
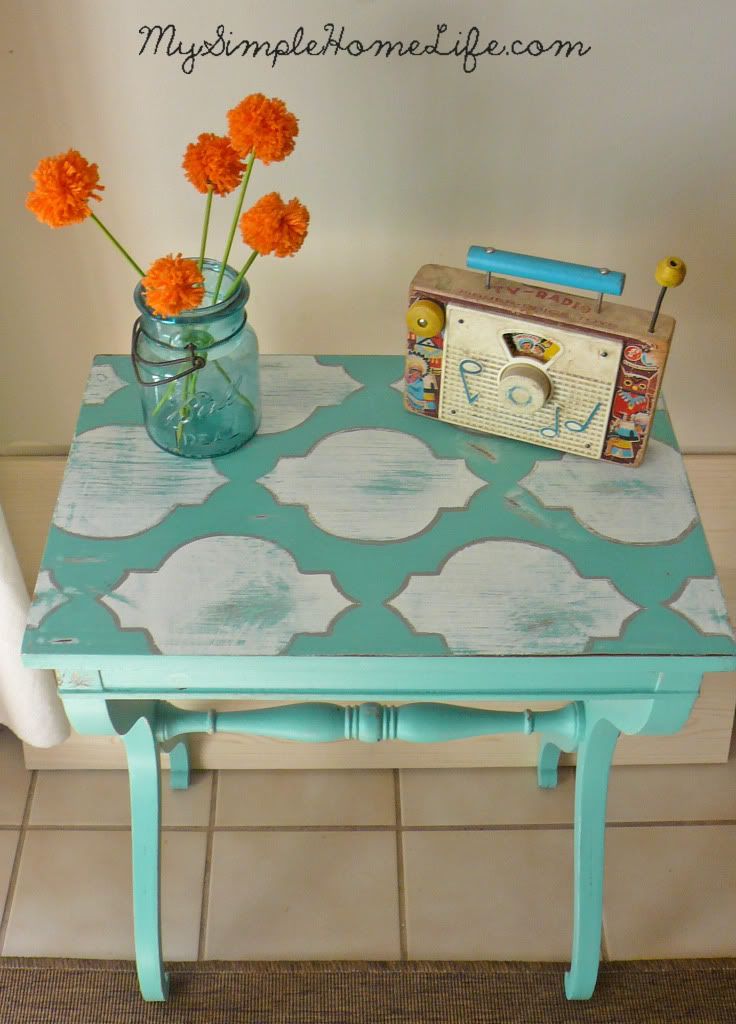
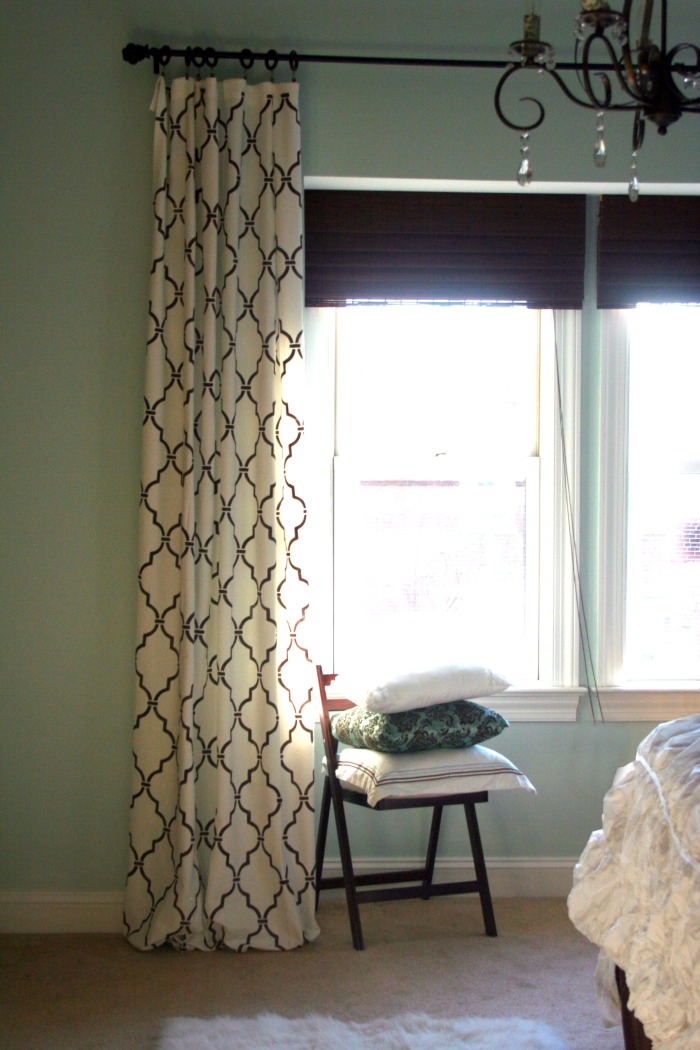
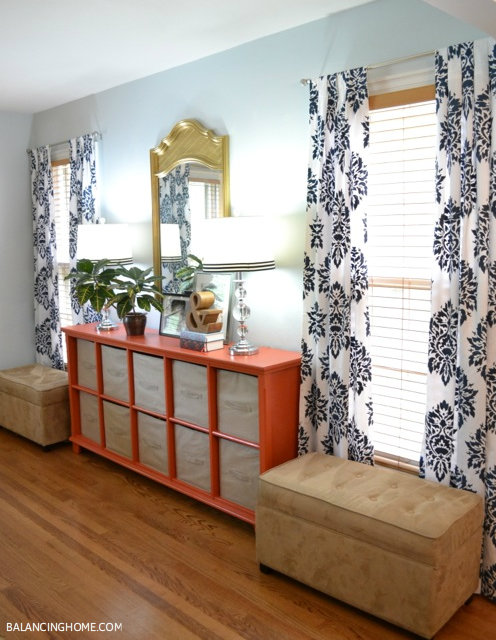
I LOVE wallpaper, but live in a rental so wallpaper aint happenin.' Even if I you own your own home, wallpaper can be an expensive update compared to paint. The other day I came across some amazing stencils by Cutting Edge Stencils and Royal Design Studios. With a little effort and one of their awesome patterns you can create the beauty and impact of wallpaper without the expense! And if you move out of your rental, you can easily paint back to the original color instead of royally pissing off your landlord with difficult-to-remove wallpaper. Because we all want our deposit back right? Yay!

Here are some awesome examples from the blog world that use stencils to transform an interior...


      Final ERM 4 065

Houndstooth Stenciled Wall


You can use these stencils pretty much anywhere.
Love the stenciled stairs!


Revamp furniture...


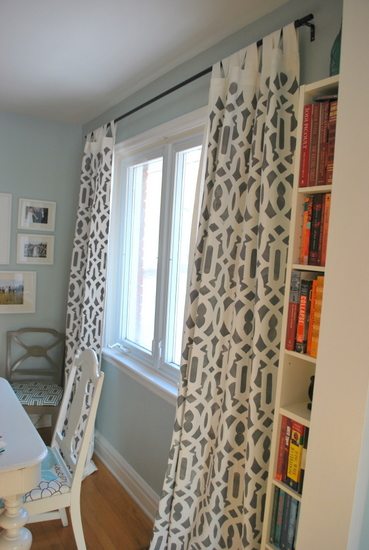
You can even stencil fabric and save boat loads on custom window treatments, pillows, and upholstery...


And don't forget what's beneath your feet... you can stencil your rug too!


Hope you enjoyed! I know I can hardly wait to stencil in a few of my projects! Check back soon to see them.

Monday, October 15, 2012

Organizing Mom's Den

The latest project I've been working on is my wonderful mom's den, which functions as her TV room, and office. Before we began the transformation, the room was home to a large sectional sofa that was bought for the house I grew up in (where my sister and I used to practice many gymnastics tricks) that was just too big for the room, mom's laptop station, filing, and catch-all bookcase with office supplies, reference books, and other odds and ends.

Working on a limited budget, I came up with a plan to find a sofa suitable to the side of the room, reorganize the office supplies into the underutilized closet, spruce things up with a fresh coat of paint and curtain panels, and showcase the art that she's collected over the years.

First things first, the closet and bookcase needed overhauling. With the office stuff sorted and contained to the closet, we could replace the bookcase with an awesome family heirloom, an Asian? side table that was hiding in the bedroom. I also swapped out a mirror from the bedroom to bring light in from the opposing sliding glass door. This is a great tip to brighten up a dark room! (For more tricks check out Apartment Therapy's 5 Ways to Make a Small, Dark Room Feel Larger.)

Here is a sneak peak of our progress so far. A little organizing, a fresh coat of paint, rearranging existing furniture, and styling with pretty accessories from around the house...


Come back later to see more as we continue the transformation!  

If you need help organizing and are in the Orange County area, I'd love to help! Contact me to discuss services and pricing.

Monday, October 8, 2012

Fall Decor

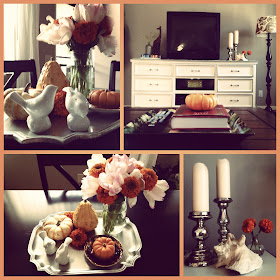
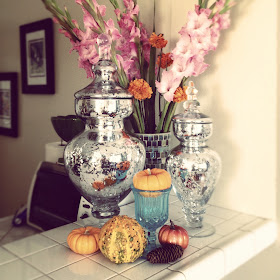
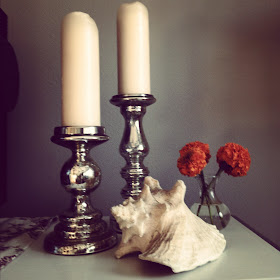
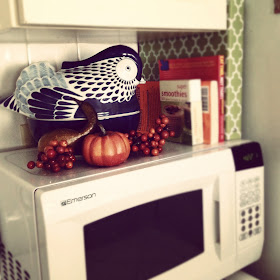
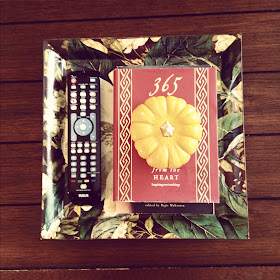
Last week I got busy creating a little fall atmosphere. I didn't have the time to do anything major, so I went down the street to Trader Joe's and rounded up some mini pumpkins and flowers.  Voila! Minimal yet effective fall decor...

Fall Decor

Fall Decor

Fall Decor

Fall Decor

Fall Decor

Fall Decor

Hope you enjoyed!